To check new objects into TFS:
- If the object exists and you have not modified the object, modify it first. If the object is a completely custom object, create it first.
By default objects do not exist in version control. For example, objects that exist only in the sys and syp layers would not be checked into TFS because they can be recreated simply by reinstalling AX. Version control is for tracking changes to customizations made to existing objects or for completely custom objects.
- In the AOT right-click on the object and choose Add to Version Control
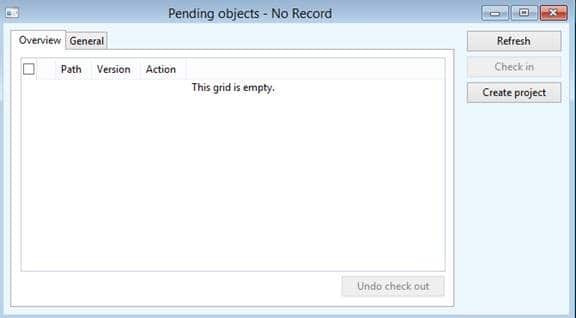
- Once you have a collection of objects ready for check-in, in the AOT go to Version control > Pending Objects and check-in the objects in the list
-When objects are added to version control, xpos are created for the objects and saved into the local repository on the developer’s machine.
-When the objects are checked into version control, the xpos in the local repository are copied up to the central shared TFS repository.
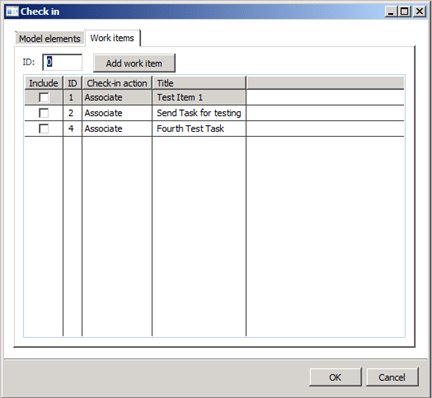
- In the form where you check in the objects there is a Work Items tab.
-Enter in the ID of the TFS task to tie this check-in to and in TFS’s Sharepoint site in this history for the task you’ll see your check-in against the task and you will see the individual objects that were checked-in.
To check out objects previously added to version control:
- In the AOT right-click on the object and choose Check Out
- Make your changes to the object
- Click on Version control > Pending Objects and check-in the objects in the list
-Once one developer has an object checked out, another developer will not be allowed to check out that same object
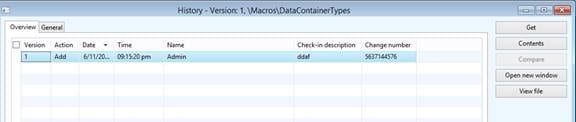
To view the history of an object:
- Right-click on the object and choose History
- In the form that opens you can select a version from the list and click the Get button to import that version of the object into your AOT.
- In the form that opens you can click the View file button to open the xpo for a particular version of the file
To synchronize to changes checked into the central repository by yourself or other developers:
- Click on Version control > Synchronize
- In the dialog that opens mark the Force checkbox and click OK.
-This will force version control to overwrite any changes you’ve made to objects in your local AOT that aren’t checked out or under version
control.
- In the form that opens, mark the model you want to synchronize to.
-When you synchronize to the central repository all of the xpos that have been checked in since the last time a sync was executed on the machine, are copied from the central repository to the local repository.
-Once the xpos exist in the local repository they are imported into AX and a database synch and compile are performed for those imported objects.
To check out the label file and add new labels to it:
- Click on Tools > Labels > Label editor
- The label editor form will open and at the top click on the Get Latest button to ensure you have the latest copy of the label file.
- At the top of the label editor form click the check-out button to check out the label file.
- To create a new label, in the label editor form, click the New button and save the label.
- The label will be given a temporary label id like $@ABC123. Use the temporary label id in your code that uses the label.
- Once the labels have been created, click Version control > Pending objects and check-in the objects in the list. (The label file will be one of the objects.)
- When you check in the label file, a permanent label id will be assigned to each new label.
-If the code you have that uses those labels is still checked out or is being checked in with the label file, the temporary labels will be automatically replaced with the permanent label id.
-If the code you have that uses those labels is not checked out, after the label file is checked in and the permanent label ids are known, you’ll have to go through your code, check out the objects, and manually change the code to use the permanent label id.
No comments:
Post a Comment