Install Visual Studio 2010 Step by Step
Visual studio 2010 has eight major versions.
1. Ultimate
2. Premium
3. Professional
Prerequisite to install visual studio 2010
1. Disable anti-virus or anti-spyware software
2. Close all of your running software
3 GB RAM
4 3 GB of Hard disk space
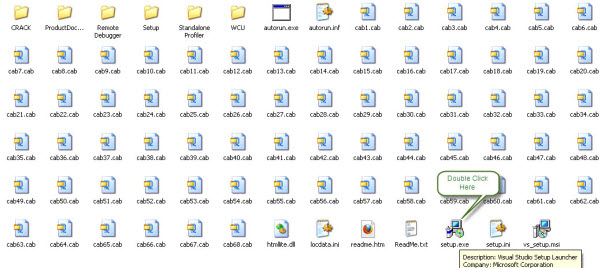
Let’s start to install visual studio 2010. Here I will install visual studio 2010 Ultimate Edition. You can install it from hard disk or DVD ROM. If you install it from DVD ROM, visual studio 2010 will run automatically. I am installing it from my hard disk.
Step 1: Double click on setup.exe
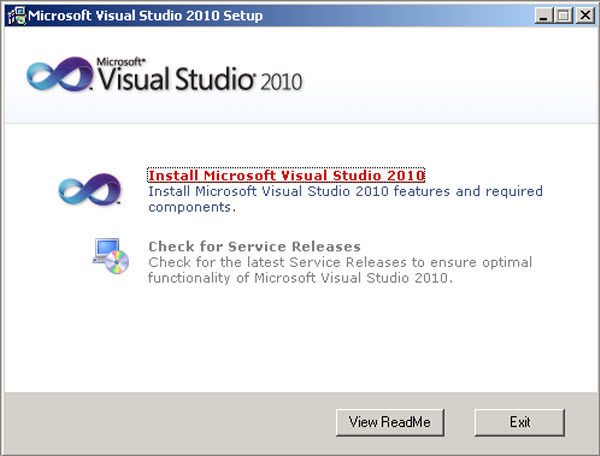
Step 2: After clicking setup.exe file, you will see the following screen. Click Install Microsoft Visual Studio 2010
Step 3: Click next to start installation.
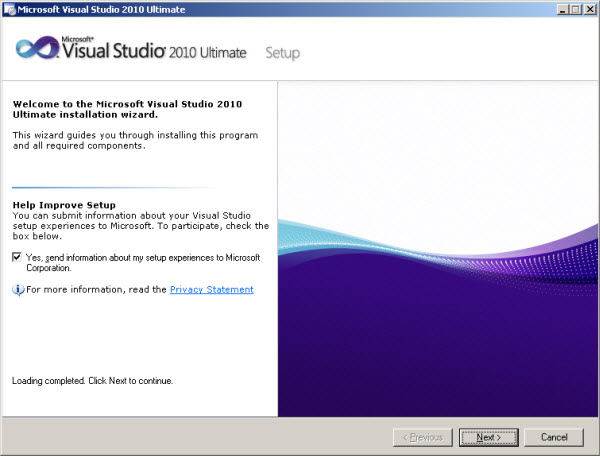
Step 4: After clicking next you will see the following screen.
Step 5: Select radio button I accept the license term

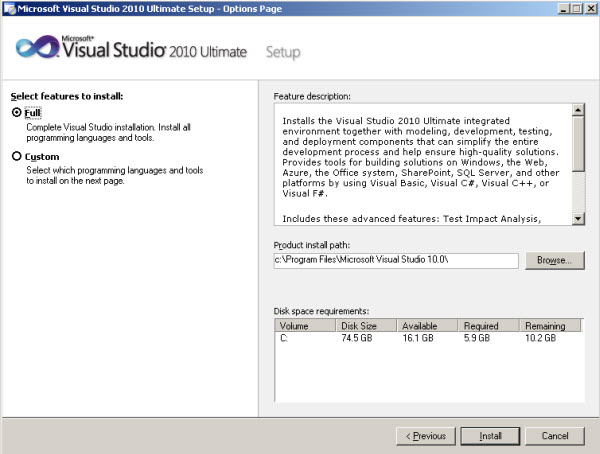
Step 6: Select the features that you want to install and the path you want to install visual studio 2010. If you don’t select path it will install in default location. You can select either Full or Custom features. If you select custom you have to select features which you want to install. For the beginner I suggest to select full feature.
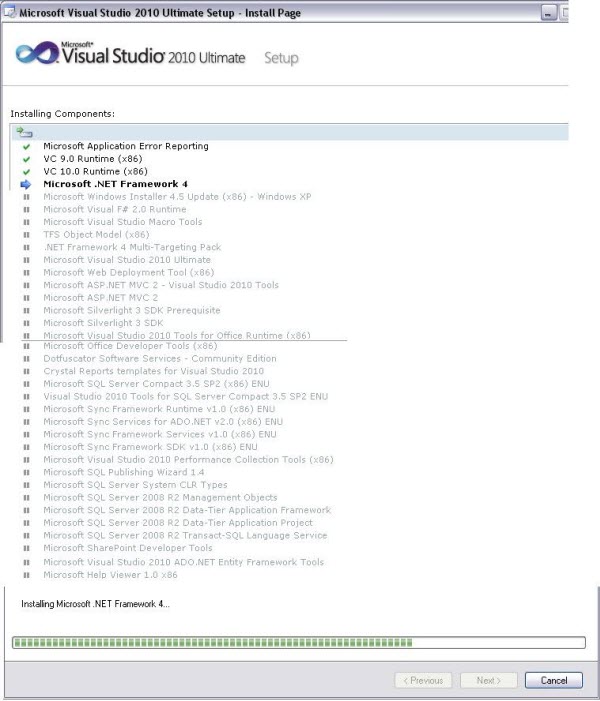
Step 7: Then the setup will start to install its components.
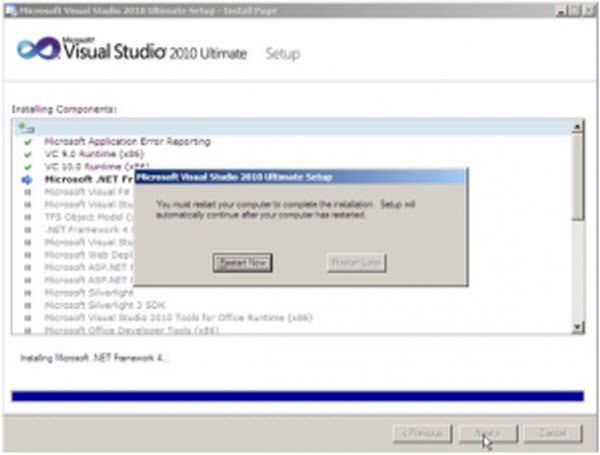
Step 8: Reboot your computer. To complete installation you may have to reboot your computer for one or twice.
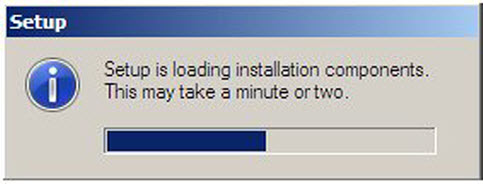
Step 9: After the rebooting, the setup will start again
Step 10: The setup starts to install the rest of the components.

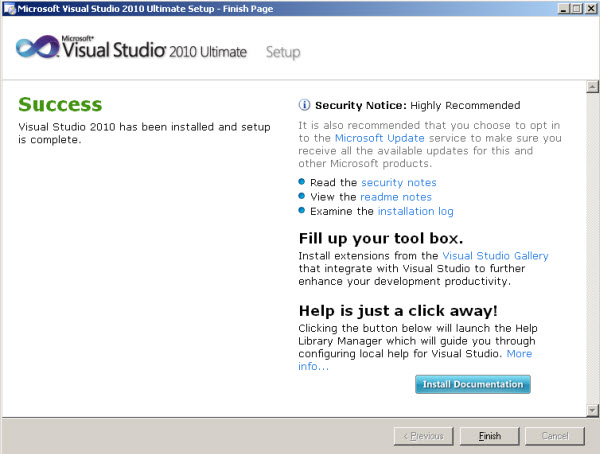
Step 11: The installation complete.
No comments:
Post a Comment