Sunday, 29 December 2013

Installation of Enterprise Portal in Ax 2012

Enterprise Portal installation in AX 2012

Enterprise Portal for Microsoft Dynamics AX provides a web-based application framework that allows for users to interact with data in Microsoft Dynamics AX through a web browser. You can create new content for Enterprise Portal, and also modify existing content. Most additions and changes can be made using resources in the Application Object Tree (AOT) in combination with SharePoint. More advanced applications and modifications can be created by using Visual Studio and the development framework for Enterprise Portal.


Microsoft Dynamics AX provides a set of web sites that give you access to data. On these sites, you can also participate in business processes by using web-based forms. These sites are collectively called Enterprise Portal for Microsoft Dynamics AX. Enterprise Portal requires one of the following SharePoint products.

    Microsoft SharePoint Foundation 2010

    Microsoft SharePoint Server 2010

    Microsoft SharePoint Foundation 2013

    Microsoft SharePoint Server 2013

Enterprise Portal can be configured to display role-specific home pages that are called Role Centers. Role Centers provide an overview of information that pertains to a user's job function in the business or organization. This information includes transaction data, alerts, links, and common tasks that are associated with the user's role in the company. Role Centers also include reports that are generated by Microsoft SQL Server Reporting Services or Microsoft SQL Server Analysis Services. Microsoft Dynamics AX 2012 includes more than two dozen predefined Role Centers, which users can access from Enterprise Portal or the Microsoft Dynamics AX client.
Enterprise Portal security

As you read about Enterprise Portal sites and features in this topic, know that Enterprise Portal uses multiple security features to restrict information and data access. Only users who have been granted permissions by the Microsoft Dynamics AX administrator can view information, data, or sites. Users who lack appropriate permissions receive an error when they try to view information or data, or they are presented with an empty Web page




Saturday, 21 December 2013

INSTALLATION OF VISUAL STUDIO 2010


Install Visual Studio 2010 Step by Step

Visual studio 2010 has eight major versions.

     1. Ultimate

    2. Premium

    3. Professional


Prerequisite to install visual studio 2010

      1. Disable anti-virus or anti-spyware software

      2. Close all of your running software

      3 GB RAM

      4 3 GB of Hard disk space


   Let’s start to install visual studio 2010. Here I will install visual studio 2010 Ultimate Edition. You can      install   it from hard disk or DVD ROM. If you install it from DVD ROM, visual studio 2010 will run    automatically.   I am installing it from my hard disk.


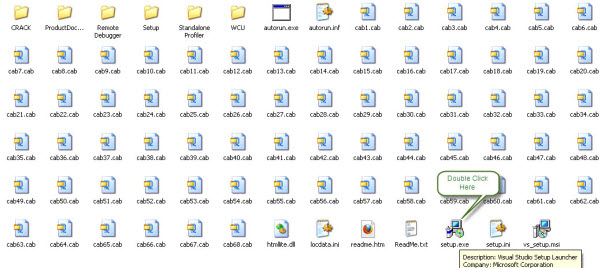
Step 1: Double click on setup.exe


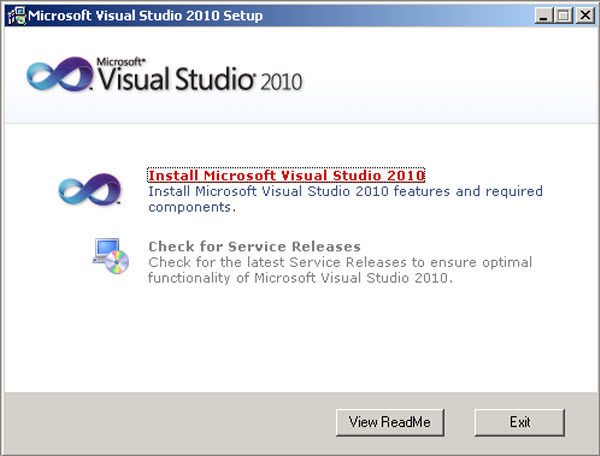
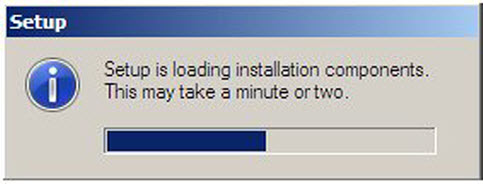
Step 2: After clicking setup.exe file, you will see the following screen. Click Install Microsoft Visual Studio 2010


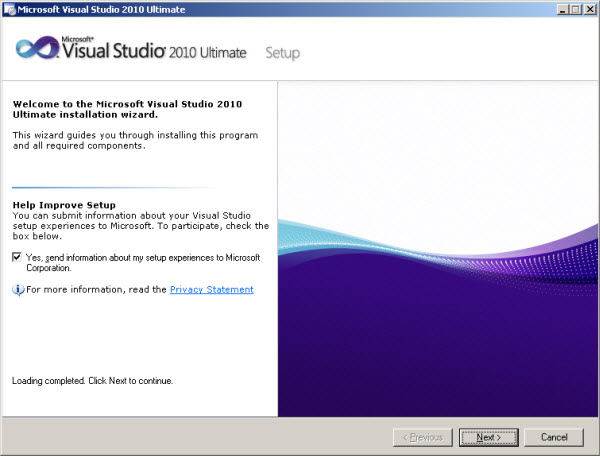
Step 3: Click next to start installation.


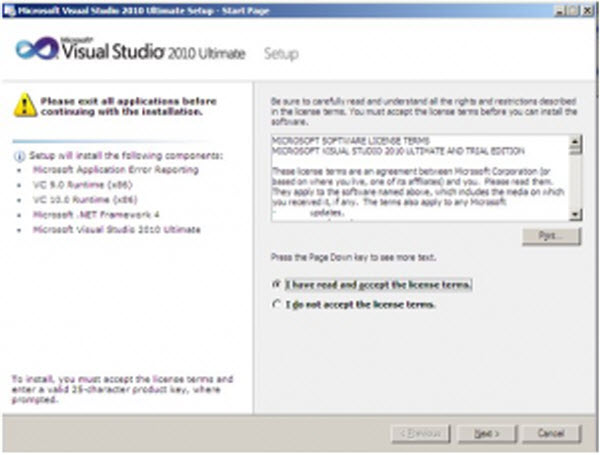
Step 4: After clicking next you will see the following screen.


Step 5: Select radio button I accept the license term


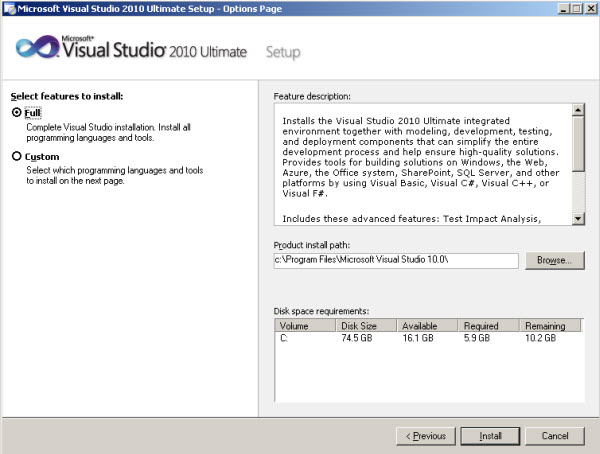
Step 6: Select the features that you want to install and the path you want to install visual studio 2010. If you don’t select path it will install in default location. You can select either Full or Custom features. If you select custom you have to select features which you want to install. For the beginner I suggest to select full feature.


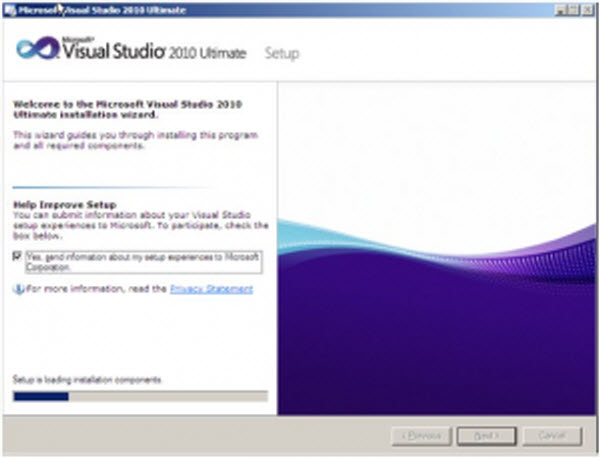
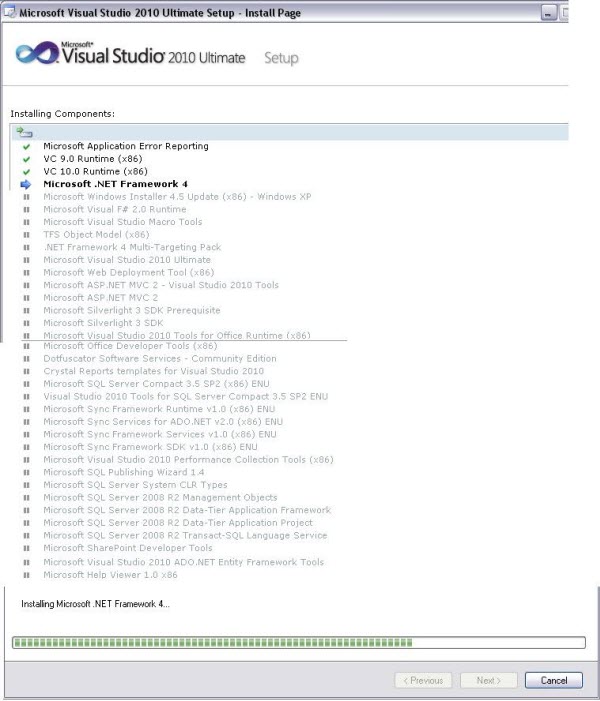
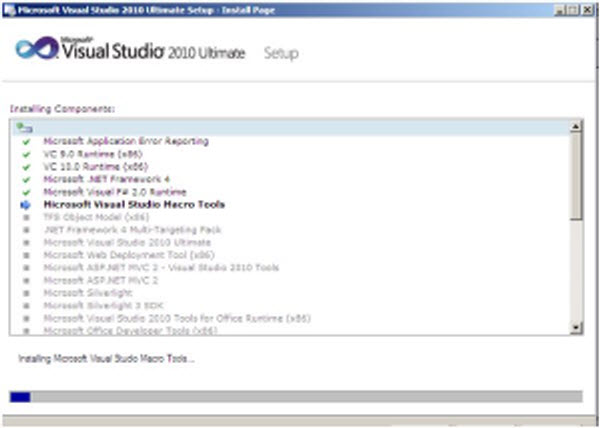
Step 7: Then the setup will start to install its components.


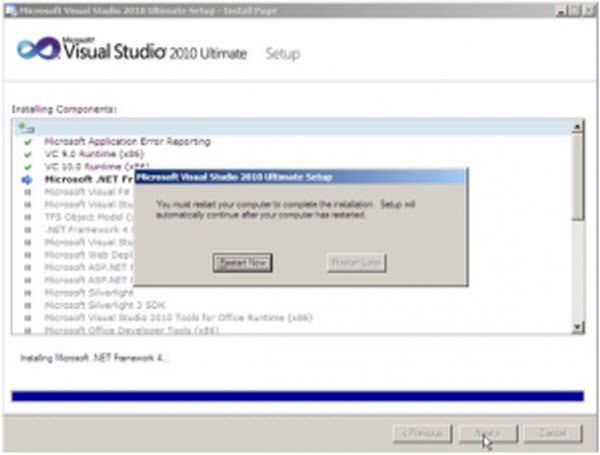
Step 8: Reboot your computer. To complete installation you may have to reboot your computer for one or twice.


Step 9: After the rebooting, the setup will start again


Step 10: The setup starts to install the rest of the components.


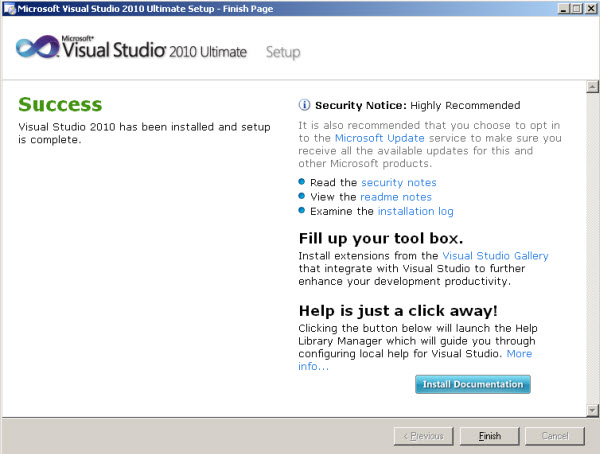
Step 11: The installation complete.


Saturday, 7 December 2013

MICROSOFT DYNAMICS AX INSTALLATION

Installation of Microsoft Dynamics Ax 2012 r2
==============================================

1) Start the Setup Program. 


2) Click "Microsoft Dynamics AX Components" under Install. 


3) Click Next. 

4) Select "I accept the license terms" *. 
 5) Choose Appropriate Option.
 6) Processing will start. 
 7) Choose "Add or modify components". 


 8) Select Options to install/upgrade. 
 9) Review the Errors/warnings and click on "Configure" check box for the 
applicable errors. and click "Configure".


10) Click "Start" to start configuring components as per AX needs.


 11) Select "Configure existing database (for upgrade scenarios)" Or click on new database 


 12) Specify your existing databases. 
13) Choose models to upgrade.if you are doing 1st time installation then select 3 models


13) Choose models to upgrade.


14) Specify the "Temp" location for setup files.


15) Specify the SSAS details.


16) Specify credentials (we just have used the dummy account) for learning 

purpose only. Use your AD authenticated account details.


17) Specify .net BC account (if its not already there in AX)


18) Choose your Languages (en-US) in this demo.

19) Specify Data Crawler Account details.


 20) SSRS Database details. 


21) User Account for SSRS Access.


 22)  click next

22) Click Install.
23) Verify the installation
after completion of installation a summary page is open in browser and give information about your installation